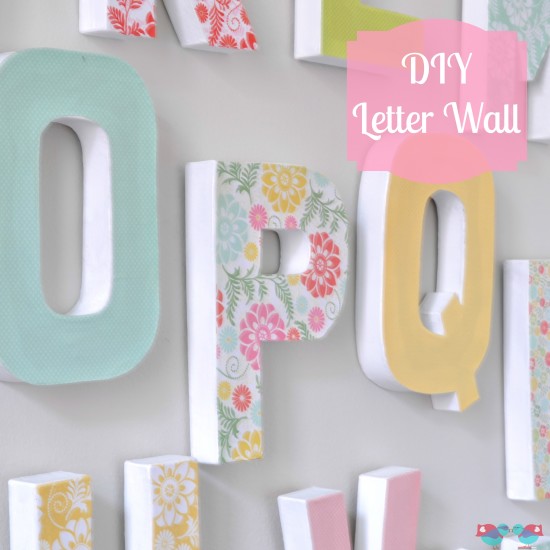
Decorate a bedroom, play room, or reading room with this cool Letter Wall. This easy, eye-catching project is easy to customize with your favorite colors or patterns.

MATERIALS:
Paper Mache Letters – Mine were 8″ letters
Scrapbook paper of your choice – I chose about 8 patterns from the same paper collection so they would easily coordinate together
Mod Podge – I prefer matte
Paint Brush
Scissors
Exacto Blade
DIRECTIONS:
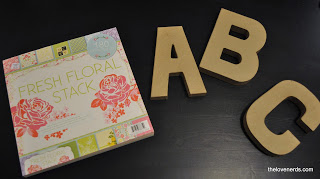
Here are the materials I started with – all the letters of the alphabet and the Fresh Floral Stack of paper.
Paper Mache Letters – Mine were 8″ letters
Scrapbook paper of your choice – I chose about 8 patterns from the same paper collection so they would easily coordinate together
Mod Podge – I prefer matte
Paint Brush
Scissors
Exacto Blade
DIRECTIONS:
Here are the materials I started with – all the letters of the alphabet and the Fresh Floral Stack of paper.
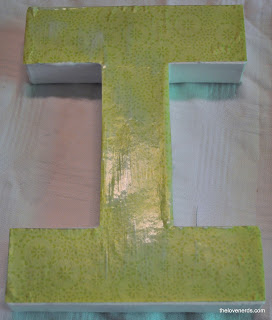
1. Decide what color you want the sides of your letters to be. I didn’t like the brown color, so I first painted all of my letters white. Paint the whole front of the letter; otherwise, you will see a color difference under the paper.
2. Place each letter flipped backwards onto the back of the paper and trace the outside of the letter. When tracing, don’t hug the letter; give yourself a little space around the letter. I recommend doing it this way so that your pencil or pen marks will be hidden.
3. Cut the outside shape using scissors.
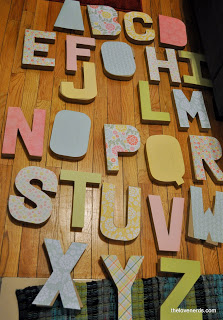
4. After I cut the outside shape, I placed all of the letter shapes onto the paper mache letters. I wanted to make sure I was happy with the distribution of the different designs before adhering the paper to the letters.
2. Place each letter flipped backwards onto the back of the paper and trace the outside of the letter. When tracing, don’t hug the letter; give yourself a little space around the letter. I recommend doing it this way so that your pencil or pen marks will be hidden.
3. Cut the outside shape using scissors.
4. After I cut the outside shape, I placed all of the letter shapes onto the paper mache letters. I wanted to make sure I was happy with the distribution of the different designs before adhering the paper to the letters.
5. Put a medium, consistent layer of Mod Podge on the top of the letter using a paint brush. Line up the paper onto of the letter, and slowly rub the rest of the letter down. I recommend starting at either the top or the bottom of the letter and slowly rubbing the paper on to prevent air bubbles or folds in the paper.
6. Give them time to dry. Don’t rush this step as it can also lead to air bubbles or folds.
7. After at least 30 minutes, go back to your letters. Now you will want to cut out any letter with an “inside” to them – such as the A or Q. I flipped these letters upside down on a cutting board and cut out the inside with an X-Acto knife.
8. Then, it’s time for more Mod Podge. You will want to first check the edges of each letter. If the paper is coming up on the edges at all, put a little Mod Podge under the paper and press down for a minute. Then, when ready, put a thin layer of Mod Podge on top each letter. The Mod Podge will be white at first, but it will dry clear. Let dry for at least an hour.
To hang the letters, I used one pair of the 3M velcro hangers for each letter. These letters are really light so you only need one. And Ta-Da! I have a colorful wall display.
 RSS Feed
